

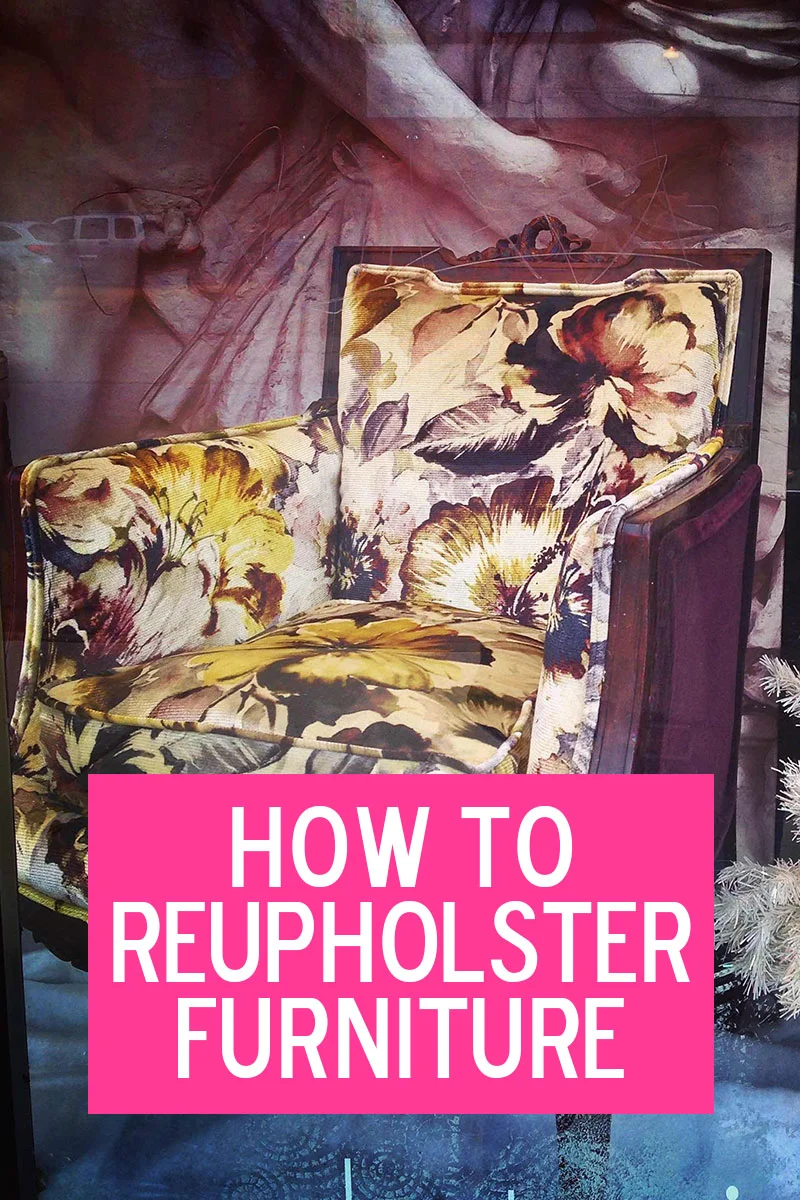
How to Reupholster Furniture (If You've Never Done It Before)

I really reupholstered this chair & didn't even cry.

Grandma & Grandpa Stromberg.

Two furniture destroyers.
I really reupholstered this chair & didn't even cry.My grandpa was born in 1909, my grandma in 1911. For people of my generation, that's the age of most great-grandparents. Arnie and Dorothy Stromberg came of age during the roaring 20s, were legit adults during Prohibition and the Great Depression. They were the kinds of people who didn't have tons of stuff, but everything they had was nice and lasted forever. Grandma & Grandpa Stromberg.My mom was an only child, and therefore, she, my brother and I are my grandparents sole heirs. Grandpa died in 1985 and grandma in 1998, when I was 15. I remember thinking, one day, I would love to have her beautiful dining room set as well as the bright orange wingback chair we'd always throw our coats on. So I asked my mom if I could have them and she said sure.I'm pretty proud of myself for having the foresight to know a good antique at 15. However, I didn't know much about caring for said furniture. We stored the table in a garage, where it warped. The table's matching buffet is currently covered in dust in my basement (nowhere to put it in my current place, plus at 15, I didn't think about whether or not my husband would like Duncan Fife-style antiques).And then, the orange chair. I loved it, and proudly had it in my living room for years.... until I realized my cats loved it as much as me. The nubby fabric made for a purrrrfect scratching post, and before long, it looked like the chair version of Nick Nolte's mug shot. Two furniture destroyers.I feel like a complete nincompoop for having these lovely pieces, but not taking care of them like I should. They literally lasted decades under my grandma's watchful eye. Under mine? It's like a bad scene from American Horror Story. The worst part?
My grandma HATED cats.

Omforme = Transformation in Norwegian.

Before.
You know how you feel about clowns? That's how she felt about cats. It makes me feel really terrible.My guilt over the orange chair got me thinking about getting the chair reupholstered. But because I am always looking to challenge my boundaries, I thought, hmmm, maybe I could do that myself! To be clear, I don't think it seems easy to reupholster a chair. In fact, it seemed nearly impossible. Precisely why I wanted to try!For nearly two years, I've been rolling around this idea. But in a twist of fate, my reupholstering dreams became a reality in what I can only describe as a perfect storm of events.Josh and I spent the afternoon at the penultimate Twins game (we lost). We then decided to day-drink and appetizer-eat our way back home, which is about a two mile walk. Once we hit our neighborhood, Josh decided he needed a coffee (good call). Instead of joining him at the coffee shop, I wandered next door to Omforme, a vintage furniture store, and I struck up a conversation with the owner, Carter Averbeck. Omforme = Transformation in Norwegian.As it turns out, he refinishes and reupholsters much of the furniture. I told him about my little project, and he said he'd show me how to reupholster the chair. How awesome is that!I sent him a photo of the orange chair when I got home. The next day, I got an email back that was basically like, hey, why don't we start you out on something a little more straightforward?I guess wingback chairs are no picnic. So instead, he suggested I help his with this beaut: Before.It's a 19th Century chair that hasn't seen the light of day in 85+ years. Covered in dusty, faded silk, it wasn't exactly the kind of thing you'd want to put your butt on. However, Carter had a vision of floral velvet and eggplant mohair.Over the course of a few weeks, I helped him transform "Eleanor" (every project needs a name, right?) into a thing of beauty. Or more appropriately, he patiently looked on as I gracelessly fumbled my way through the project. Here's how it went down.
Step One: Remove the Old Fabric.

We have a long road to go, buddy.

If this chair could talk.

Eleanor, wearing just her silk skivvies.
We have a long road to go, buddy.Apparently, they didn't have staple guns or air compressors in the 1880s (or whenever this thing was last reupholstered). Instead, the fabric was attached with hundreds of tiny little nails that some tiny little person (a Keebler elf?) pounded in with their tiny little hands with a tiny little hammer. The key here is to keep the piece of fabric fully intact-- you want to use the whole piece as a template for cutting the new fabric. I never would've thought of that!It took me about 90 minutes to remove all the panels. By the end, I couldn't help but think of this scene from Happy Gilmore.Here's the nekkid back. You can see all kinds of threads, horsehair, muslin and millions of nails from last time this thing was reupholstered. If you look closely, you can tell there's a tiny gap between the wood frames. We'd need to shimmy the new fabric through those slots and attach it to the back. If this chair could talk. Eleanor, wearing just her silk skivvies.
Step Two: Attach New Fabric

Carter, matching up the fabric.

First time I've used a compressor like this, no big deal.

An upholstering trick.

Starting to look like something you might want to own.

Fancy, right?
A few days later, I returned to attach the new fabric to the chair. Carter is no dummy. He's running a business and couldn't wait a year for this chair to be completed. Hence, he cut the fabric (notice how the print matches up perfectly! Carter's a true pro.) and attached it to the bottom and back of the chair. Carter, matching up the fabric.I, however, still had to do a challenging part: getting the fabric to lay perfectly on the arms. First time I've used a compressor like this, no big deal.I know that doesn't seem like too difficult a task, but since the arms are slightly curved, the fabric will pucker if you just slap it on there. Precisely why Carter cut little tabs along the edge. He knows all the tricks. An upholstering trick.After that, I trimmed the excess real close to the edge. Starting to look like something you might want to own.Next, we attached this beautiful eggplant mohair to the exterior of the chair-- making sure the grain of the fabric ran down. No need for fabric that bristles all weirdly against your skin when you sit down. Fancy, right?
Step Three: Sew Double-Cord Welting

Serious concentration.

Almost there.
Of course, the unfinished edge isn't exactly classy enough for a chair of this stature. Carter challenged me to sew double-cord welting. I had no idea what that even meant, but quickly deduced he was talking about that piping that runs along the edge of the fabric.I needed to tightly wrap our velvet fabric around pre-made welting. I've definitely sewn a lot since 8th grade home ec (just kidding), so this was a little slow going at first. Eventually, I got the hang of it. Serious concentration.Here's my first pass. Not too shabby. Almost there.
Step Four: Attach the Welting
I thought this might be the easiest part because it simply involved me attaching the cord to the chair with hot glue. I mean, hot glue is my jam, how could I screw this up?As it turns out, oh so many ways. It's important to make crisp corners, not get glue on the wood and make sure the trim was super-de-duper straight. I only screwed it up three or four times, peeling the cord off with my hot glue burned finger tips, panically asking Carter, Did I ruin it?!I didn't ruin it. Mainly because he fixed my mistakes.
Step Five: Sew Cushion

Nearly completed chair.

Finished Eleanor chair.

The family, checking out my handiwork.
I have very little to add here as Carter did that step without me. Phew! Nearly completed chair.We also cleaned up the wood a little, adding a protective finish with a slight eggplant sheen. I'd love to tell you how we did that, but it's Carter's secret method and he said he'd kill me if I told.Here's the final product, currently displayed in the Omforme front window: Finished Eleanor chair.I know the ultimate goal with this project was to reupholster my grandma's chair, but I'm not sure I am up to the task-- even this more straightforward project was no cake walk. I have a lot of appreciation for people who not only see potential in old but well-crafted furniture, but know how to make it happen. The family, checking out my handiwork.I also learned another valuable lesson. I want a well-designed, well-curated home. Do I want an Ikea-fied house? Definitely not, but sometimes I think it's difficult to find pieces I can afford that have personality.Working with Carter showed me that it's worth the extra effort to find furniture that was built right in the first place. I'm not too proud to admit that I've literally thrown away an Ikea couch-- one that I never even liked that much in the first place. Well-crafted furniture is often a little more expensive (not always, though!), but it gives your home a more unique feel AND you don't have to put it together with an Allen wrench. Plus, it should last forever, something that would make Grandma & Grandpa Stromberg proud.And speaking of proud, I am very proud to announce...
25 percent of the proceeds from the Eleanor chair will go to Still Kickin.

December's Fearless Hero is Sam, a little guy facing incurable brain cancer. The funds will help Sam and his family cover costs while they clearly have more important things to think about. The chair is $699, so that's $175 going to a family who needs it.If you just want to donate money to them without buying the chair, that's cool, too. Click on the big, fat Still Kickin logo below.PS Carter is hosting brunch and photos with Bad Santa on December 6. Check out the Omforme Facebook page for more details.
* * *
I love when I build things with my hands (because honestly, I am not naturally inclined to do such things). For example, I turned these free chairs into dining room seating. Or when I helped build this fence.
STUCK IN A RUT?
SIGN UP FOR ACCESS TO THE #HEYELEANORCHALLENGE!
(plus a FREE copy of 107 Ways to Expand Your Comfort Zone)
Email Address
Sign Up
Thank you!